
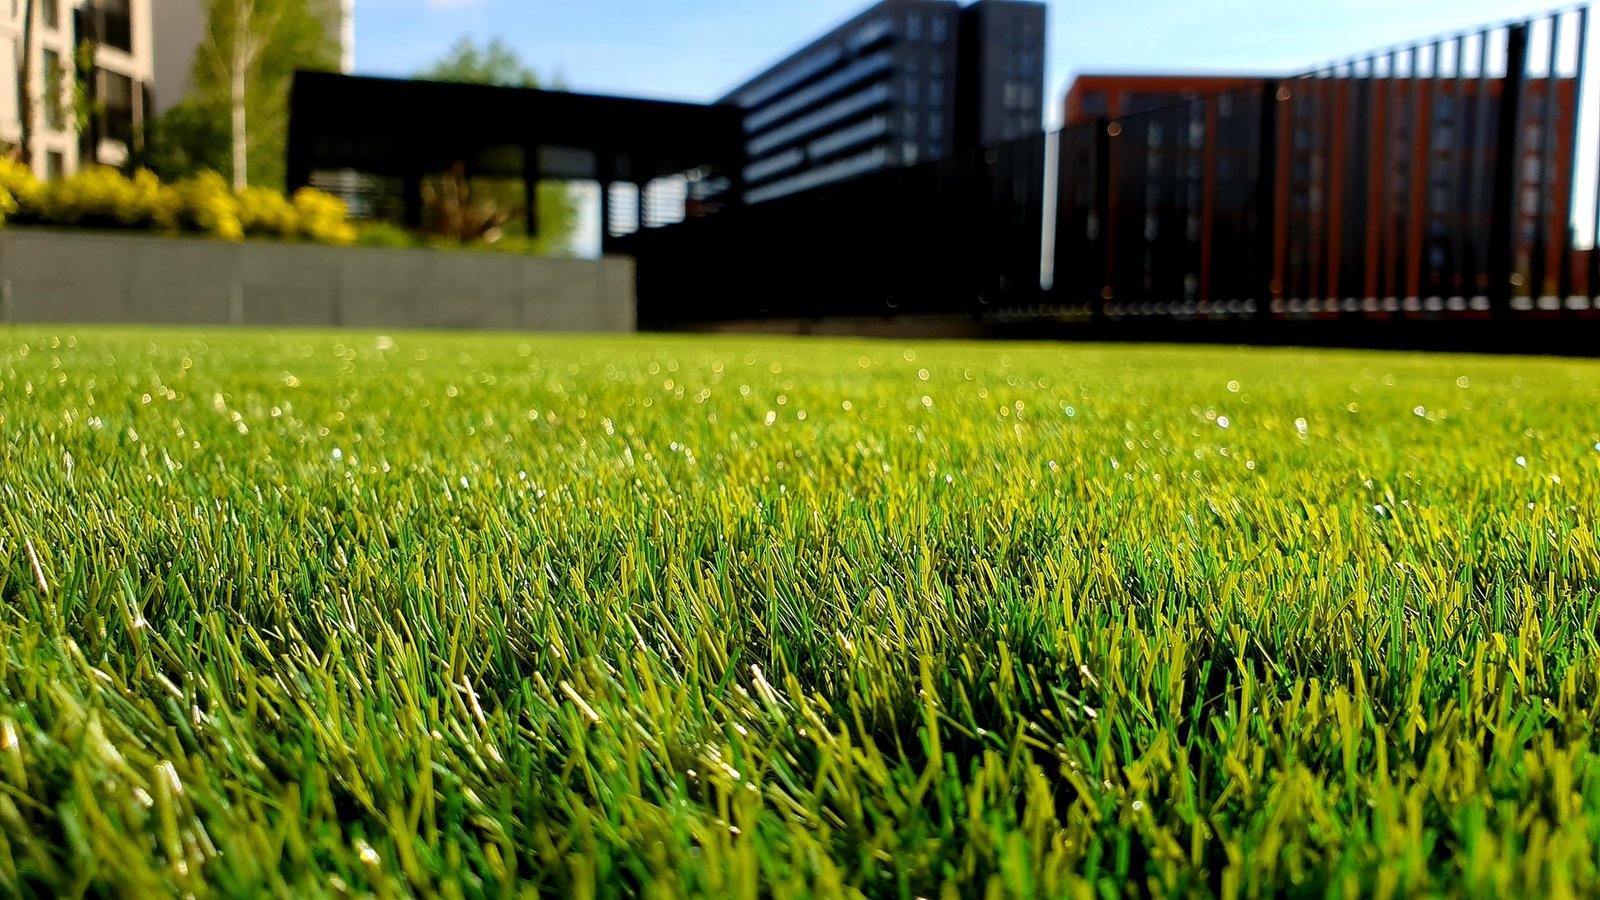
Turf Preparation & Lawn Excavation is where every great lawn truly begins, and I’ve seen firsthand how skipping this step can turn a dream yard into a patchy mess. If you want that thick, green, barefoot-worthy lawn in the Wide Bay Area, you need to start below the surface—because what’s underneath your turf matters just as much as what you see on top.
Ever wondered why some lawns bounce through Bundaberg’s dry summers while others flop underfoot? As someone who’s helped create and rescue plenty of yards across Wide Bay, I can tell you the secret starts before a single blade of grass ever touches the soil.
The trick is in the prep work – clearing old turf, fixing the ground, and setting up the perfect base so your new lawn can thrive. Think of it like building a pizza: you can have the best toppings in the world, but if the crust is soggy or uneven, the whole thing is a mess.
The same goes for turf – a solid, well-prepared foundation means a healthy, lasting lawn. Getting that foundation right isn’t just a tip – it’s everything. A lush lawn in Wide Bay starts with removing all the old junk (weeds, rocks, roots) and ensuring the soil beneath is level and nutrient-rich.
Once you’ve done that, everything else flows – grass roots grow deeper, water soaks in nicely, and you avoid the nightmares of poor drainage or patchy growth later on. In fact, if I had one piece of advice from all those outdoor jobs I’ve seen, it’s this: don’t cut corners on prep.
And you don’t have to go it alone. For anything bigger than a weekend hobby job, it’s smart to call in the pros. An Turf Preparation Service in the Wide Bay Area knows exactly how to strip out the old turf, remove debris, and sculpt the land so it’s ready for grass.
These teams can handle the heavy lifting (literally) and have gear like excavators and rollers that make quick work of uneven ground. The same crew often does expert earthworks in the Wide Bay Area, meaning they understand the local soil and climate.
In my experience, hiring someone who’s been around these parts saves time, sweat and surprises. Plus, it frees you up to plan the fun stuff – like picking your dream grass or designing gardens – while they get the groundwork sorted.
Clearing and Excavation: Start with a Clean Slate
First thing’s first: get rid of what’s there now. Scrape away old grass, weeds, roots, rocks and even leftover concrete or tile bits. It’s like giving the earth a fresh haircut before styling – the cleaner the canvas, the better the results.
I often spray a non-selective herbicide (like glyphosate) on stubborn patches or perennial weeds, then hoe or till the surface to turn the dead vegetation over. Everything that was there – dead grass, invasive roots, weeds – gets removed or buried.
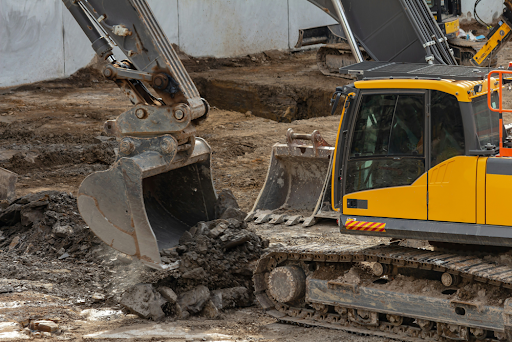
On small jobs you could rent a compact bobcat or trenching machine yourself, but in tight yards even a manual shovel and wheelbarrow can work wonders. For larger or uneven lots, though, nothing beats an excavator.
It can dig out high spots, fill low spots, and generally smooth the land much faster than you or I ever could. Remember: the goal is a flat, level area with a slight slope for water to run off (usually away from any buildings).
As one turf expert puts it, you should “strip the top layer of your soil by around 150mm (six inches)” to remove junky subsoil, then “bring in at least 80–100mm of quality soil” for the new lawn base. That means literally digging down a bit and adding clean, loamy topsoil on top.
Here’s a quick checklist for the clearing/excavation step:
- Remove vegetation: Spray weeds, pull grass roots, and rake out debris.
- Dig out / fill in: Use an excavator or spade to take down high spots and fill hollows.
- Check utility lines: Always locate any underground pipes or cables before digging.
- Rough level: Aim for a mostly even slope that drains away from houses and structures.
By the end of this phase, you’ll have a blank earth canvas: nothing living on it, and the contours of the land ready for fine-tuning.
Soil Testing and Improvement
With the old stuff gone, it’s time to talk to the dirt. I usually grab a simple soil kit or send a sample to a lab. Wide Bay soils vary a lot – some of us have clay-heavy patches, others have sandy pockets or a mix.
Testing pH and nutrients tells us if the soil is too acidic, alkaline, or lacking key elements like nitrogen or potassium. Turf needs a balanced, fertile base to really thrive. Aim for a soil pH between 5.5 and 7.0. If your test shows it’s out of range, add lime (to raise pH) or sulfur/iron (to lower pH) as directed, and water it in well.
Also consider adding gypsum to break up compacted clay, or compost to enrich sandy ground. At this stage, we’re building a good soup for grass roots – mix in organic matter if your base is lean, or sand if it’s heavy clay.
Once the soil is treated and the amendments are mixed in, I smooth it out again. The goal: a soft, crumbly base that’s firm underfoot (but not rock-hard). You might use a rotating tiller or a grader blade to blend amendments evenly.
If you’re not getting a pro in for this, rent a roller or use a flat plate compactor in “lifts” to gently pack each 100mm layer. Just don’t compact it so much that water can’t drain – the soil should still have some spring.
Adding a Topsoil Underlay
In Wide Bay, the experts recommend an 80/20 mix of sand and loam (or a pre-blended turf underlay mix) for the top 100mm or so. In practice, I’ve found it best to haul in fresh topsoil or a commercial turf underlay and spread about 8–10cm across the entire lawn area.
This cushion ensures nutrients and moisture are available where the grass needs them most. If you’ve got really hard clay, you might dig out more and replace with at least 150mm of this rich base.
Don’t forget to smooth and level the underlay carefully: rake it flat, double-check slopes, and shave it about 30–40mm lower than any edging or paths (to account for the thickness of the turf you’ll lay).
Drainage is key too – always slope your base slightly (about 1–2%) so excess rain flows off quickly. A quick test: after leveling, water the area and watch that puddles disappear within a few minutes. If they stay, you might need to tweak the grade or improve the soil mix.
Leveling and Grading
Now we refine that leveled base. If there are any remaining bumps or dips, a drag matt or metal rake can smooth them out. In pro work I’ve seen them use laser-guided grading, but for home jobs I use a long straight board or level to check the surface.
The lawn should feel smooth when you walk (no tripping hazards or low spots collecting water). For really large yards or tricky slopes, hire a grader blade or laser level tool. Otherwise, eyeballing with a line level or string (from one end to another) helps.
Throughout this process, think like water: your yard should gently guide rainwater away from building foundations, not pool in the middle. Downpipes, driveways, and patios need to direct flow off the lawn edges if possible.
Finally, give the whole area a once-over with a vibrating roller or heavy roller – just enough to firm things up, not turn it into cement. One pass back and forth is usually plenty. Now your ground is tamped, flat, and ready for grass.
Choosing Your Turf Variety
A perfectly prepped bed still needs the right grass to thrive. Wide Bay’s warm, subtropical climate (with hot, wet summers and mild, dry winters) means we pick turf that can handle sun, sometimes salt spray, and our occasional dry spells.
The good news? Queensland’s government waterwise garden guide confirms the local stars: Buffalo, Couch, Kikuyu and Zoysia are all well-suited to our conditions. Let’s compare these:
| Turf Variety | Drought Tolerance | Shade Tolerance | Growth/Maintenance |
|---|---|---|---|
| Sir Walter Buffalo | High (keeps green) | Very High (great in shade) | Moderate growth, low mowing (stays lush) |
| Zoysia Australis | High (slow to brown out) | Moderate (tolerates partial shade) | Slow growth, minimal mowing, premium look |
| Eureka Kikuyu | Very High (thrives in heat) | Low (avoids deep shade) | Very fast growth, high mowing, quickly recovers |
| Nullarbor Couch | Very High (needs sun) | Low (not shade-tolerant) | Fast growth, frequent mowing, hardy in sun |
Each grass has its pros: Buffalo (like Sir Walter) is famous for handling shade and bouncing back from wear, while Zoysia (Australis) is ultra-durable with a lush fine texture (though it comes with a pricier tag).
Kikuyu and Couch both love the heat and spread quickly, but they’ll need regular mowing and dethatching if you want to keep them neat.
When it’s time to lay turf, choose a type that fits your yard’s light and use. For example, if your block has big trees or sits in town, Buffalo’s shade tolerance is a real win. If you dream of a silky-green stand in full sun, Couch or Zoysia might be worth it.
Either way, buy certified, locally-grown rolls from Wide Bay suppliers (they know the soil and often DNA-certify varieties like Sir Walter). A local supplier or landscaper can also advise on seasonal timing – generally, planting in cooler months avoids stressing the new grass.
Watering and Aftercare
With turf down, the work isn’t quite over – think of this as training your lawn’s newborn roots. Water deeply and infrequently, following the Queensland waterwise advice: too much surface sprinkling is wasted. Instead, soak the lawn well so water reaches the old soil.
Over the first 2–3 weeks, keep the turf and under-soil consistently moist (not swampy) – this helps roots weave into the base. In Wide Bay’s heat, that might mean a good watering every second day initially, edging to lighter daily mists in very hot snaps (especially if it’s 30°C and dry).
Watch for signs: if the grass starts to dull or footprints linger, give it a drink. But if you see mushrooms or algae patches, dial back (those mean it’s too wet). Once established (after a couple of months), your lawn should thrive on just the natural rainfall plus an occasional deep soak.
Mowing: hold off until the grass has rooted well. Usually I wait about 2 weeks or until it grows a bit taller than normal. Then cut no more than the top third of the blade (so if it’s 6 cm high, mow to 4 cm). After that, keep it around 3-5 cm tall, depending on grass type. Always sharpen your mower blades – a crisp cut helps the grass heal quickly and look tidy.
And of course, feed it! A good lawn starter fertilizer at the time of laying can boost early growth, then a balanced lawn feed every season will keep it lush. Organics like compost teas or blood and bone work fine. But the biggest thing: be patient. A properly prepared turf might still look a bit spotty at first. Give those roots time to anchor, and soon you’ll have a thick, green lawn as strong as (or stronger than) any old sod that was there.
Conclusion
By now you’re armed with the full playbook: clear, test, amend, level and choose wisely. A lawn isn’t built in a day, but with these steps you’ll create a base so solid that your turf will thank you by staying green and healthy for years. Remember, wide Bay weather can be tough on grass – but a well-prepared site makes all the difference between a glossy lawn and a constant headache.
Ready to see your own lush turf in Wide Bay? Go ahead, grab a shovel or call in an expert – but don’t skip the groundwork! If you need a hand, get a quote from local specialists who know the area’s soils and climate. Good luck, and happy landscaping!
Frequently Asked Questions
How deep should I excavate before laying new turf?
When it comes to Turf Preparation & Lawn Excavation, I always recommend excavating around 150mm if your soil is clay-heavy or poor quality. After that, I add 80–100mm of fresh topsoil to create a solid, healthy base that supports strong root growth and proper drainage.
Can I reuse soil I dug out during clearing?
During Turf Preparation & Lawn Excavation, I usually avoid reusing old soil because it’s often compacted and lacking nutrients. If you really want to reuse it, make sure you screen it properly and mix in organic matter or soil conditioners to bring it back to life
My soil is really clay-heavy. What should I do?
Clay soil can be tricky, but smart Turf Preparation & Lawn Excavation fixes that. I improve it by adding gypsum, coarse sand, or compost, then till everything through evenly. In some cases, I also raise the lawn slightly to improve drainage and prevent waterlogging.
How long after preparation can I plant or lay turf?
After completing your Turf Preparation & Lawn Excavation, you can lay turf straight away—as long as the base feels firm, level, and not soggy. I always avoid working on wet soil because it ruins the structure and creates future problems.
What equipment do I need for lawn excavation?
For small-scale Turf Preparation & Lawn Excavation, I use basic tools like a shovel, rake, and wheelbarrow. But for larger areas, I bring in a mini excavator, bobcat, or turf cutter—it saves time, effort, and gives a much cleaner finish.